Here in New Zealand, nights are getting chilly, leaves are dropping off the trees. The wood fire is on at night. And the plants in the garden have slowed down. My lettuce won’t grow fast enough to meet my demands 😉
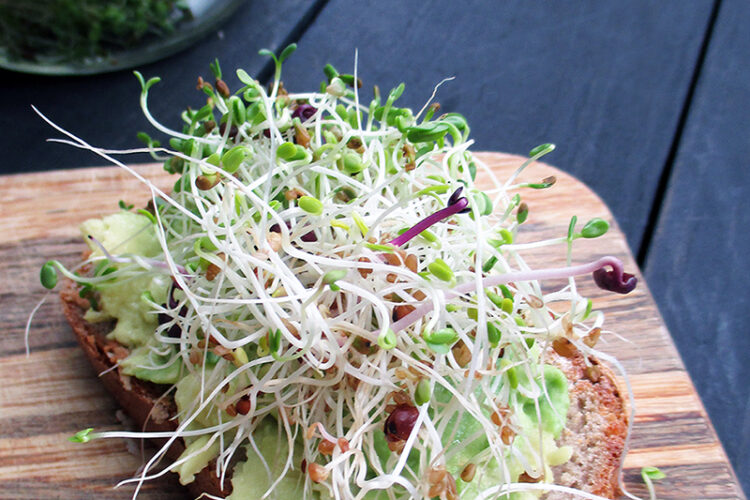
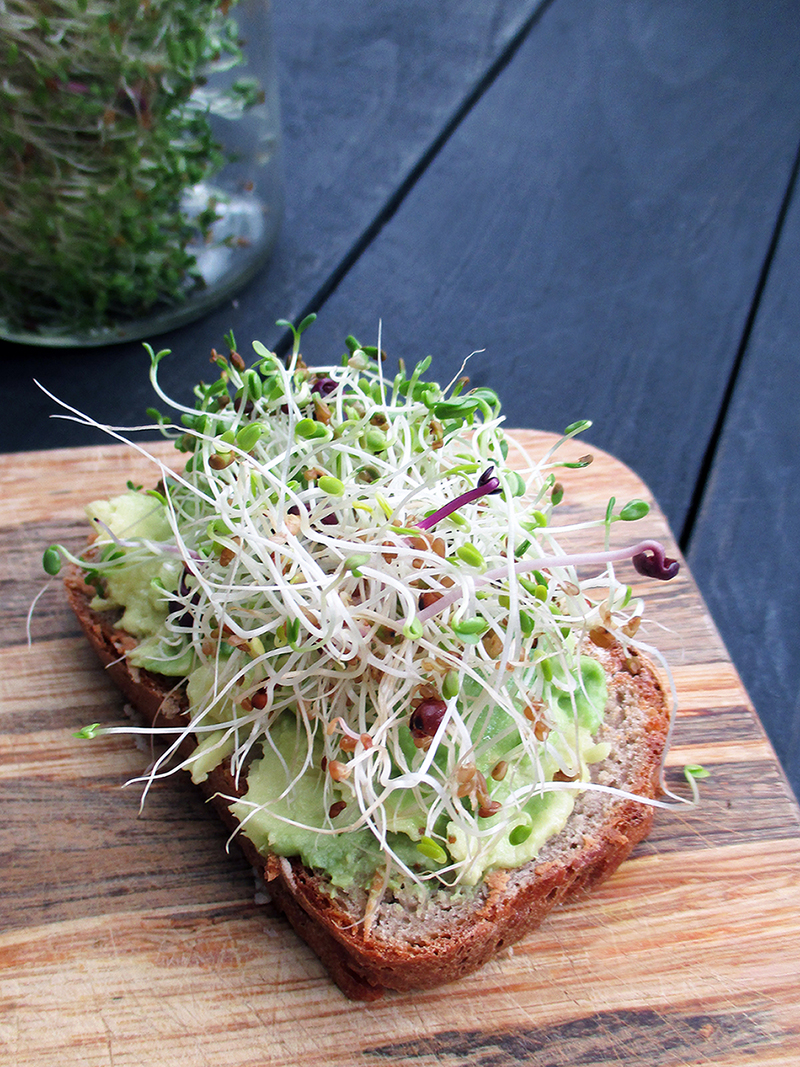
A good reason to do some sprouting! Healthy and fresh and green, grown on the kitchen bench – so easy and so good to add some green to your diet! 🙂
I have a little corner where the sprouting jars do their thing. I try to have one starting when the other one is almost ready to harvest. This way I’m always in stock.
Seeds are available in health shops, organic shops and gardening centers. I recommend to search for a sprouting chart online, there are plenty available 🙂
What you need:
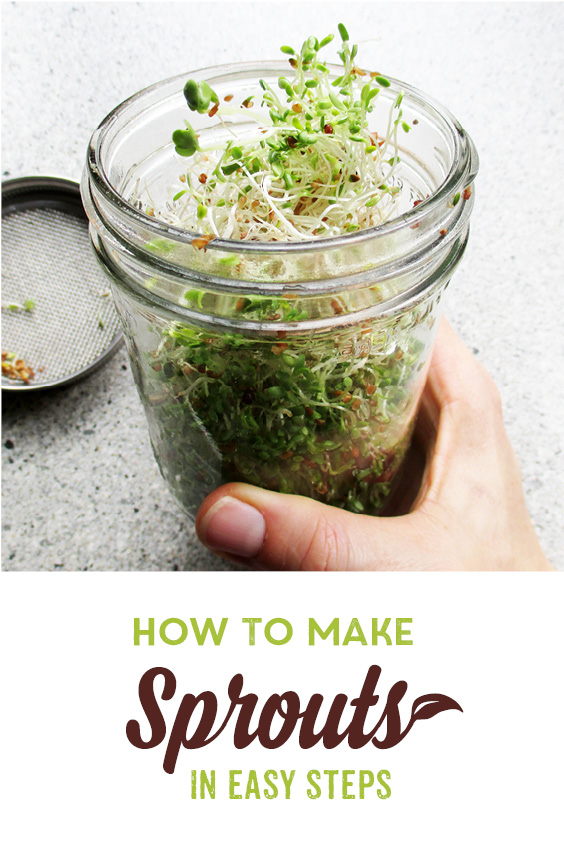
– a sprouting jar (a common large glass mason jar will do just fine)
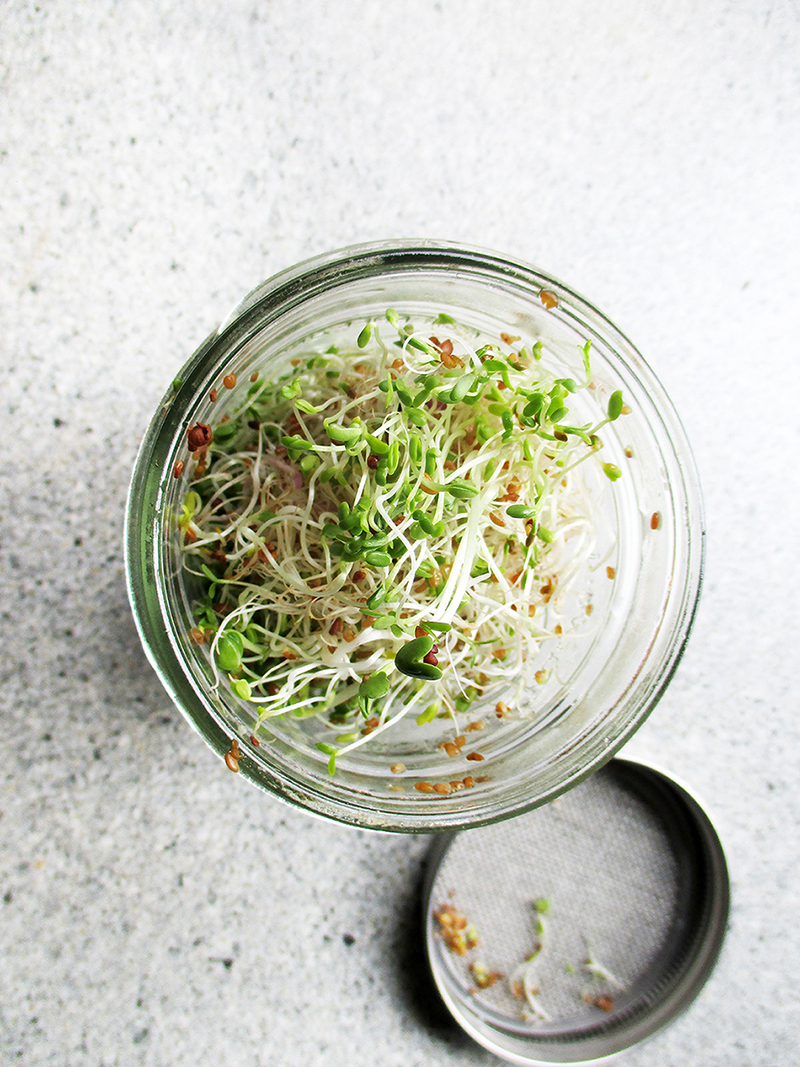
– a sprouting lid (can be bought in health-shops, or made with a mason jar ring and a piece of cheese cloth)
– sprouting seeds
– a flat bowl works well to keep the jar in the preferred slight angle
How to do it:
Step 1
Put some seeds into the jar (depending on the type of seed, often a few tablespoons; for red clover seeds I use 1-2 tablespoons).
Cover well with water, screw the sprouting lid on and let soak during the night.
Step 2
In the morning, with the sprouting lid still on, rinse the jar with fresh water a couple of times and then place the jar on a slight angle in a warm, airy place, but avoid direct sunlight. The angle helps to get rid of the excess water, increases air circulation inside the jar and gives the sprouts more room to grow.
Step 3
In the evening, rinse the sprouts again and put back in their place.
Step 4
In the morning, rinse the sprouts again and put them back in their place.
Repeat step 3 and 4 until the sprouts are long and green enough for you.
Then place the sprouts in an airtight container and keep refrigerated. They should last up to 5 days.
Make sure the sprouts are dry enough before putting them into the container (best at the end of the drying cycle).
Enjoy! 🙂

