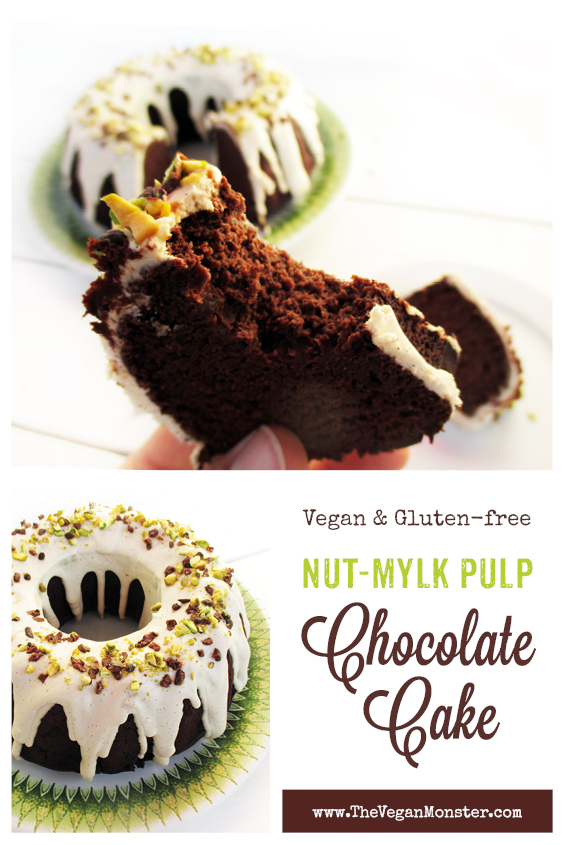
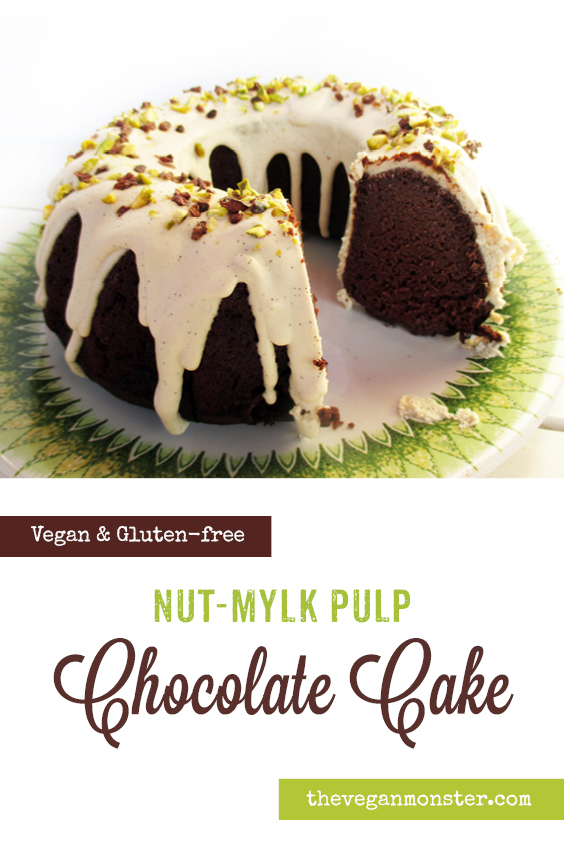
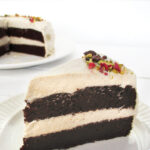
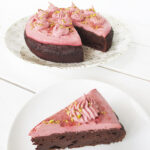
Yay! Another good reason to make your own nut-milk! The leftover pulp makes an excellent ingredient for chocolate cake.
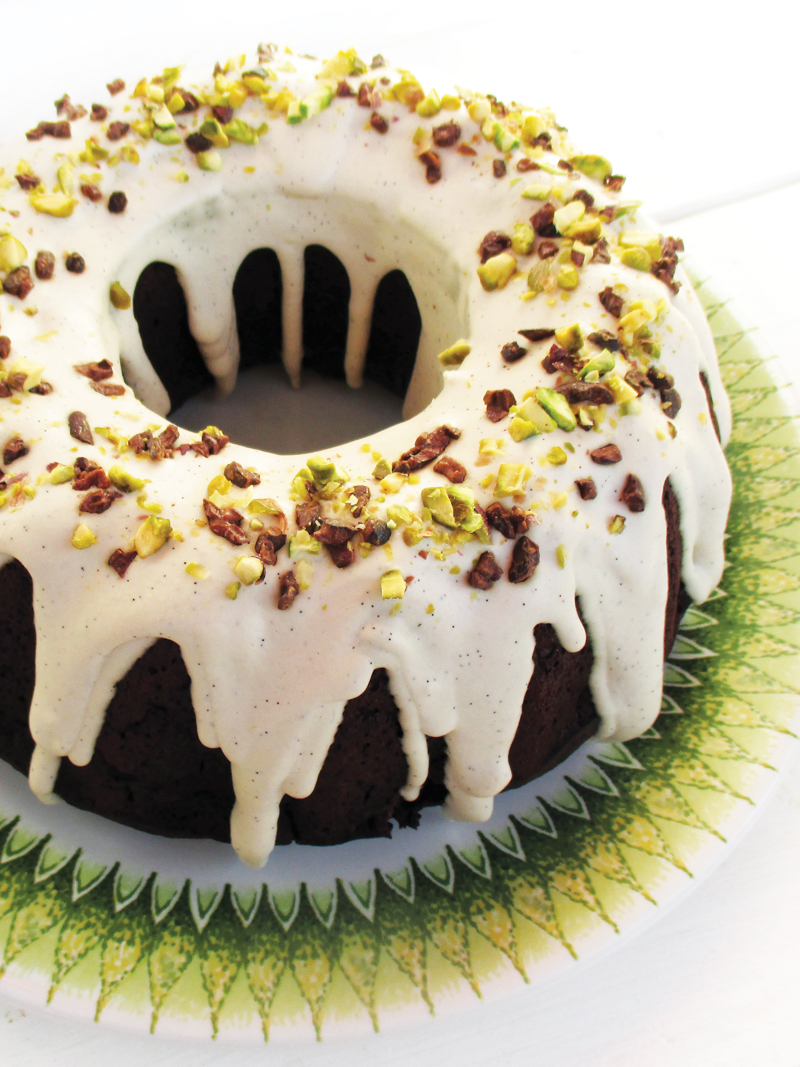
It is super moist and fluffy at the same time. And it stays like that for several days even if stored in the fridge. Isn’t that great?!
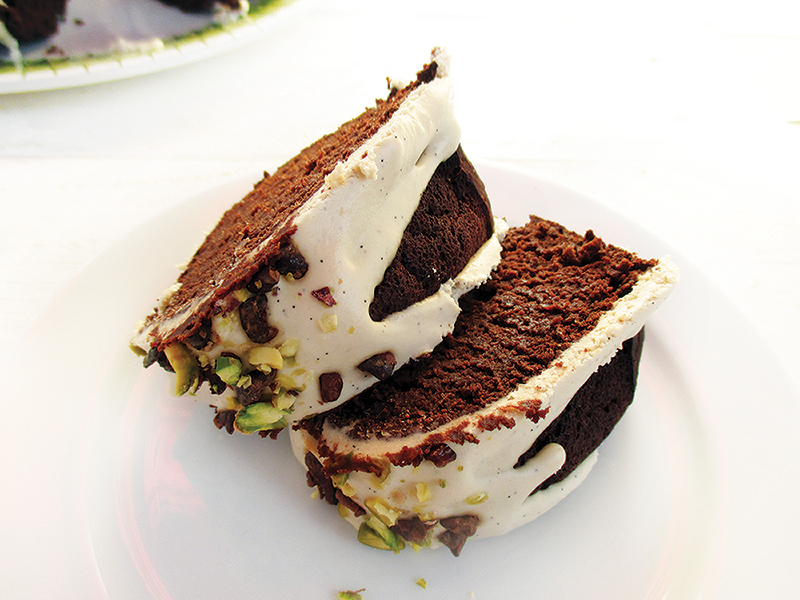
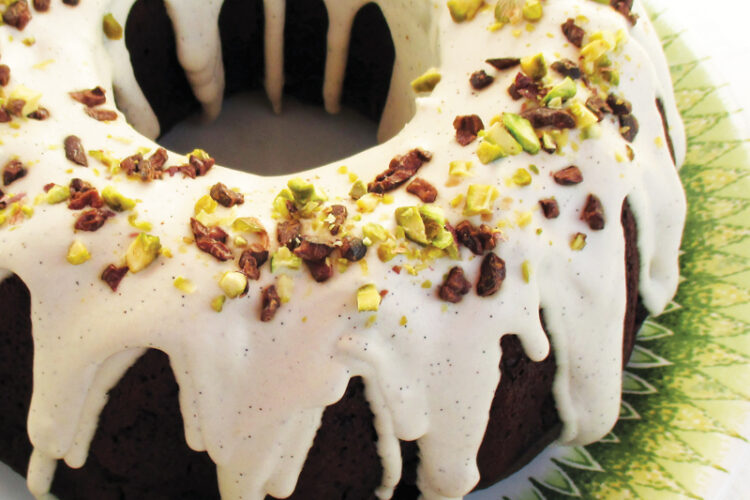
I have played around with a few frosting options and this one is my winner: a creamy, white chocolaty icing. Garnished with chopped pistachios and cacao nibs it will make a few mouths water. Please note that you need to cover and possibly chill the cake, otherwise the frosting will dry out after a while and cracks show up in its surface 🙂
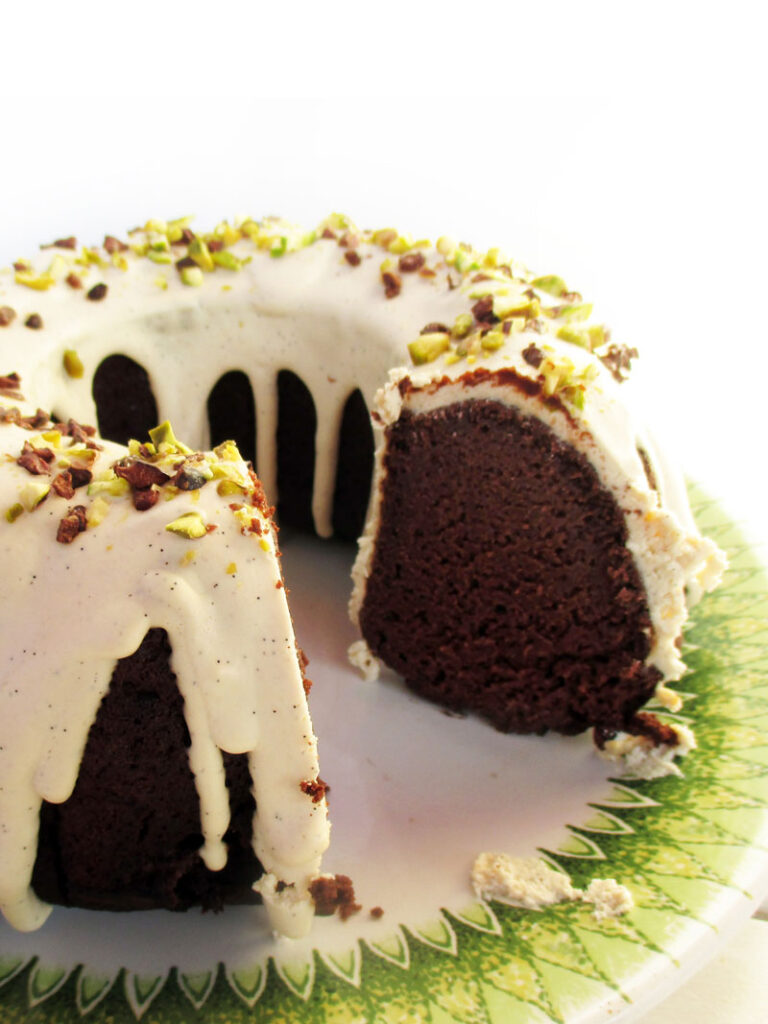
I use the nut pulp just as it comes out of the nut milk bag, no drying required.
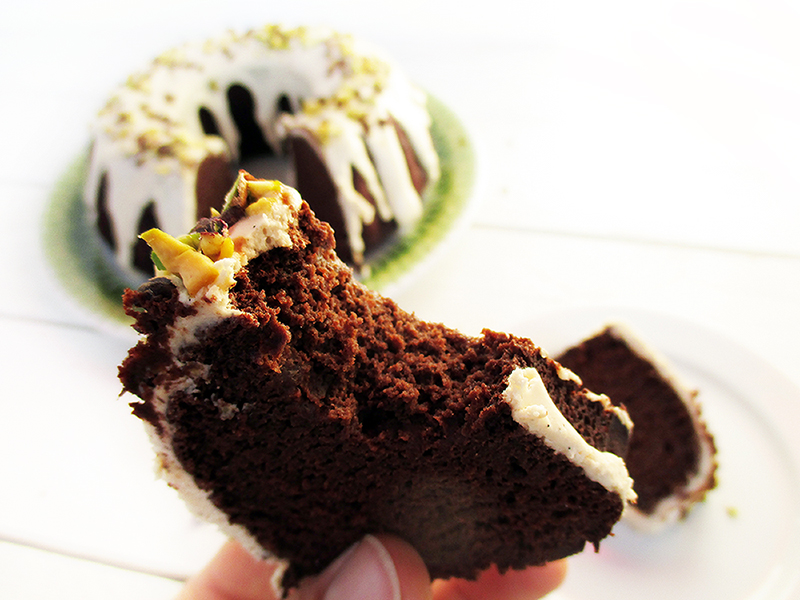
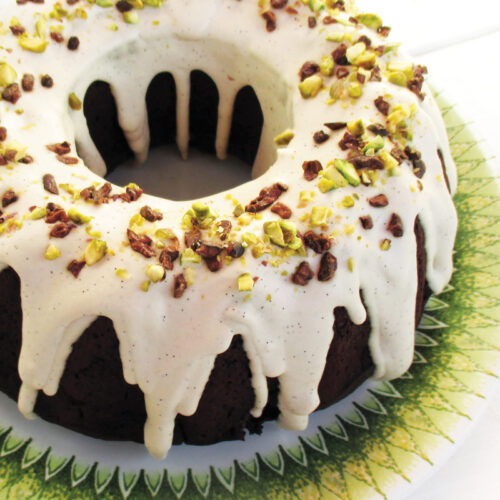
Nut-Pulp Chocolate Cake (Vegan, Gluten-free)
Equipment
- Blender
Ingredients
For the cake:
- 200 g nut pulp
- 175 g buckwheat flour
- 100 g FAIR-TRADE cocoa
- 200 g coconut sugar
- 2 tablespoon fiber husk
- 2 teaspoon baking powder
- 1 1/2 teaspoon baking soda
- 1/2 teaspoon salt
- 2 1/4 cups water
For the vanilla frosting:
- 40 g cacao butter
- 1/4 cup cashews ✳ Affiliate link: When you click on one of these links and make a purchase through the partner website, I receive a small commission from your purchase. This helps me keep my blog running. Thank you for your support! 😊 soaked in filtered water for at least 4 hours, then drained
- 35 g dates pitted and diced
- 1/4 cup water more if needed
- 2 teaspoon vanilla paste or vanilla essence
Instructions
- Preheat the oven to 190°C. Sift the ingredients, except the nut-pulp, in a medium sized bowl and mix well.
- Then add the nut pulp and stir well again. I like to use a whisk to break it up evenly. The less clumps, the better will be the cake texture.
- Add the water and mix well.
- Grease the cake tin with some coconut oil or whatever else you prefer (I have tried it without greasing and it didn’t work out well). Pour the dough into the cake tin and spread it evenly.
- Place in the oven and bake covered with a loosely place sheet of aluminum foil for 40 minutes. Then bake for another 10 to 15 minutes. Make sure you test the cake with a skewer. If it comes out dry and clean, take the cake out of the oven.
- After a few minutes, take the cake out of the form and let cool down properly. To do this, I place the cooling rack on top of the form, grab it on both sides and flip it over. The cake should plop out onto the cooling rack.
- For the vanilla frosting, I highly recommend using a small blender such as the Tribest Personal Blender. It works very well with small amounts. Firstly, melt the coconut butter by placing into a container that sits in a hot water bath. When the cacao butter is melted, transfer to the blender. Add the remaining ingredients and blend until smooth. If it is too thick, add a little more water as required.
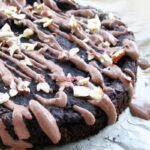
- Pour the vanilla frosting with teaspoon scoops in circling motions over the cake until it runs down on the sides. Garnish with some chopped nuts, cacao nibs or other yummy things
Notes
Please let me know what you think about this recipe, I’d love to hear from you! And if you remake this recipe, please share the picture with me on Pinterest, Instagram or Facebook.
