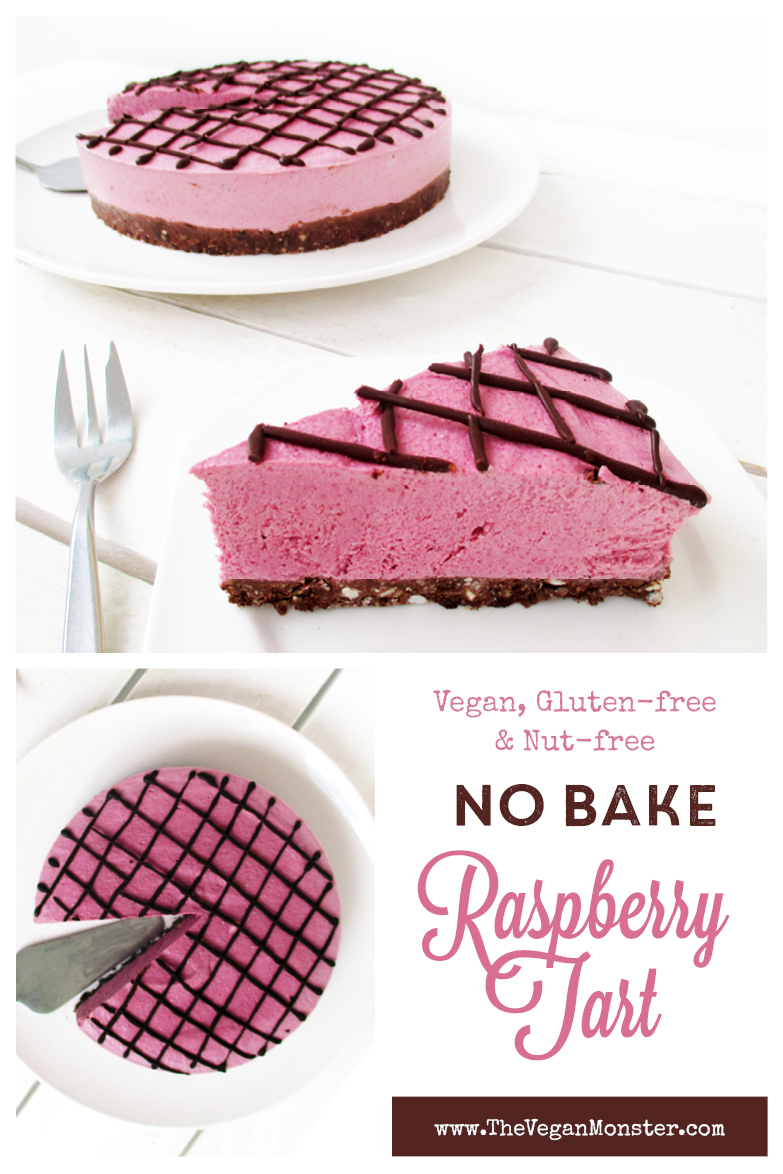
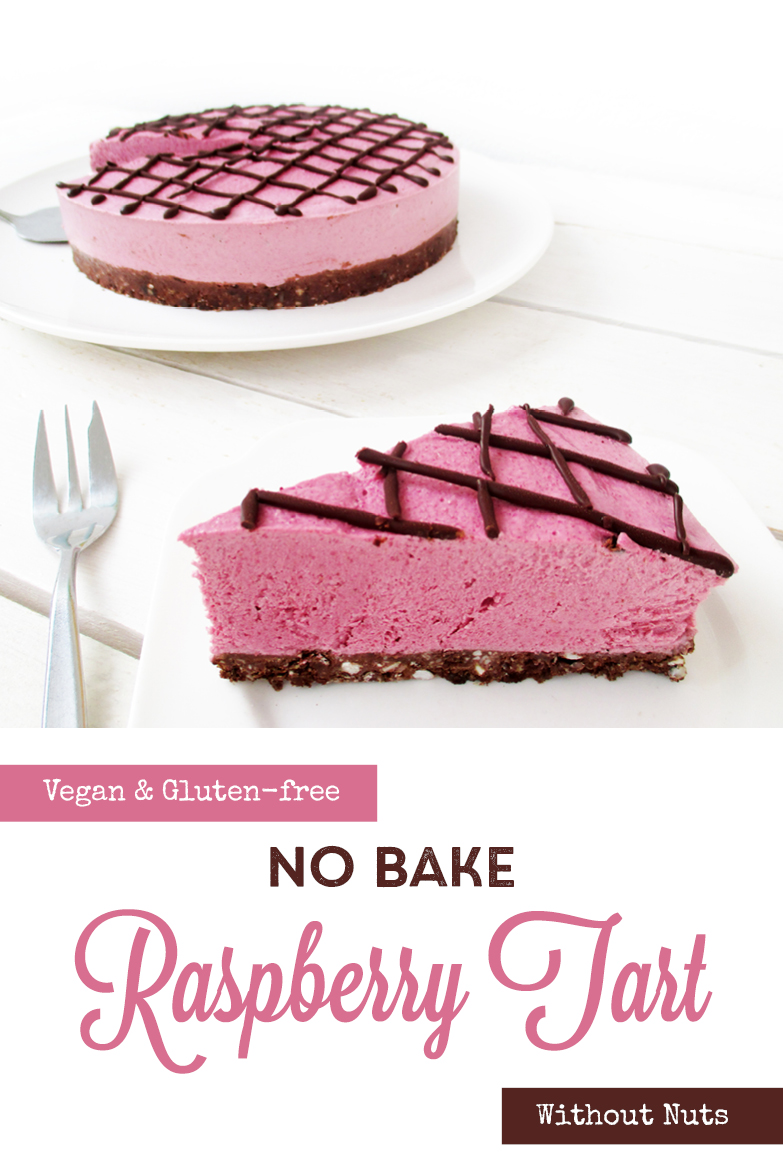
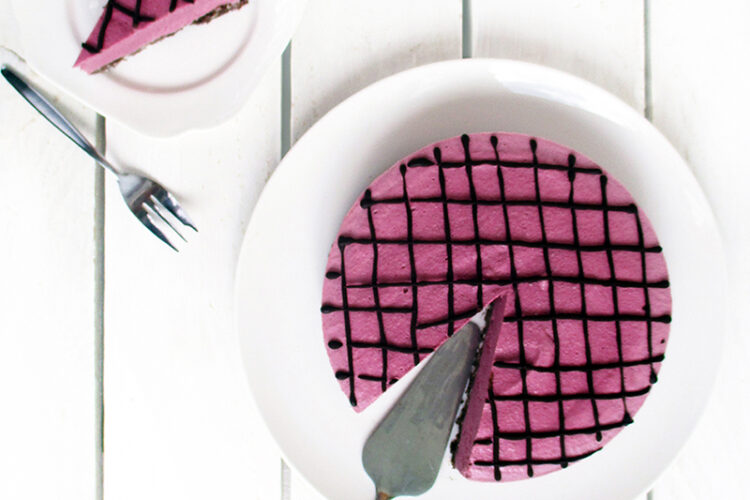
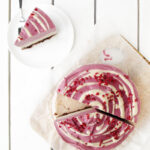
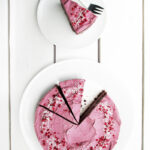
Lately I’m really on a roll when it comes to creating new recipes for no-bake cakes! This time I’ve tried a nut-free version again. And yes, it was a success!
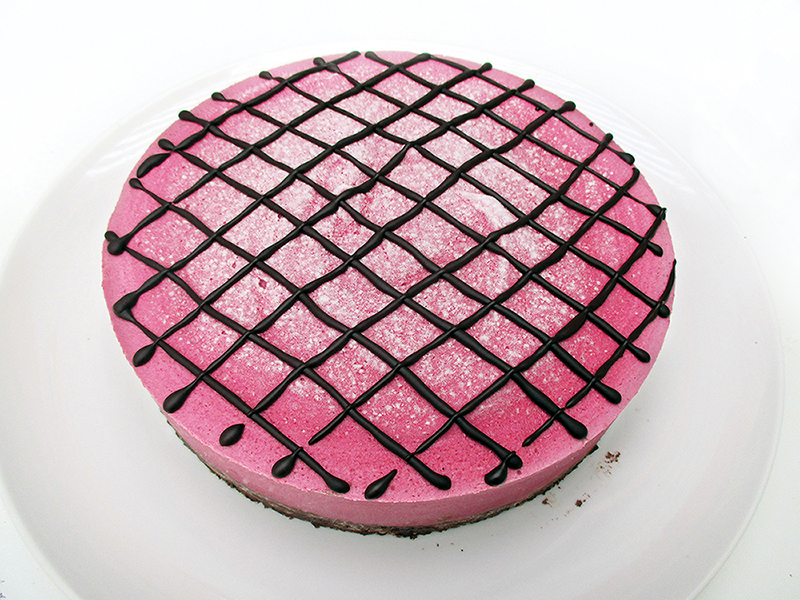
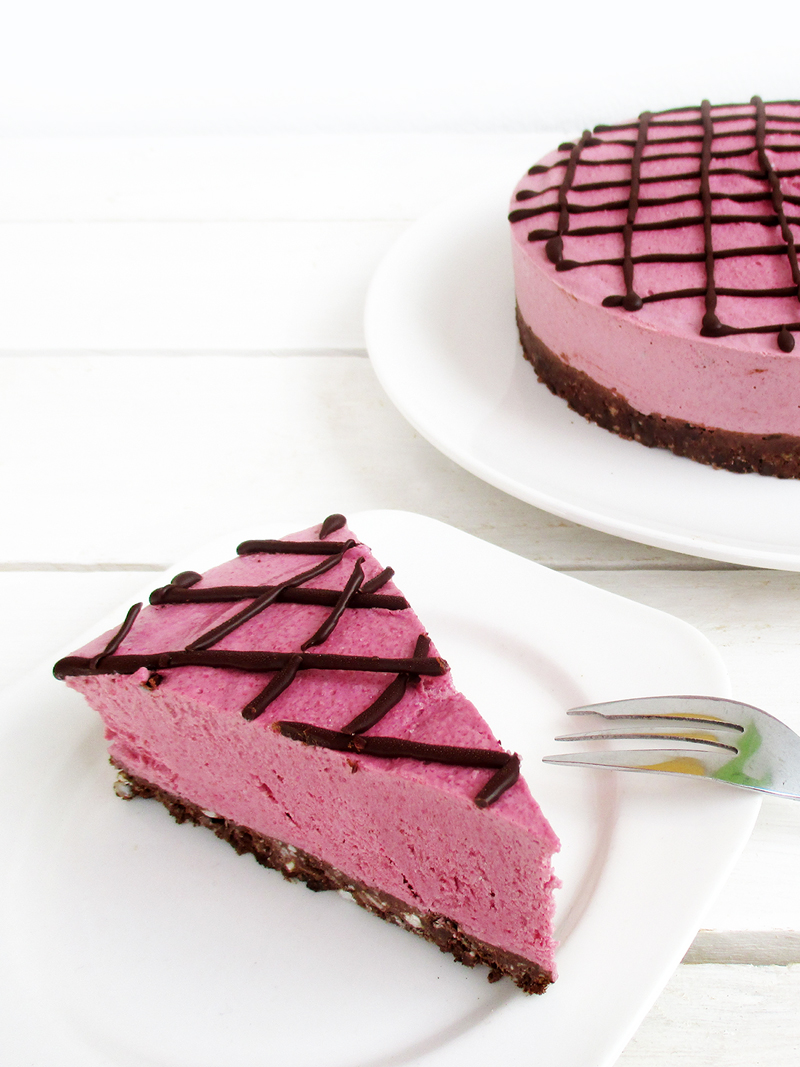
I’m not really a fan of combining fruit with chocolate. But I keep telling myself to stay open-minded. And yes, I admit it, this particular combination is actually pretty damn yummy! 🙂
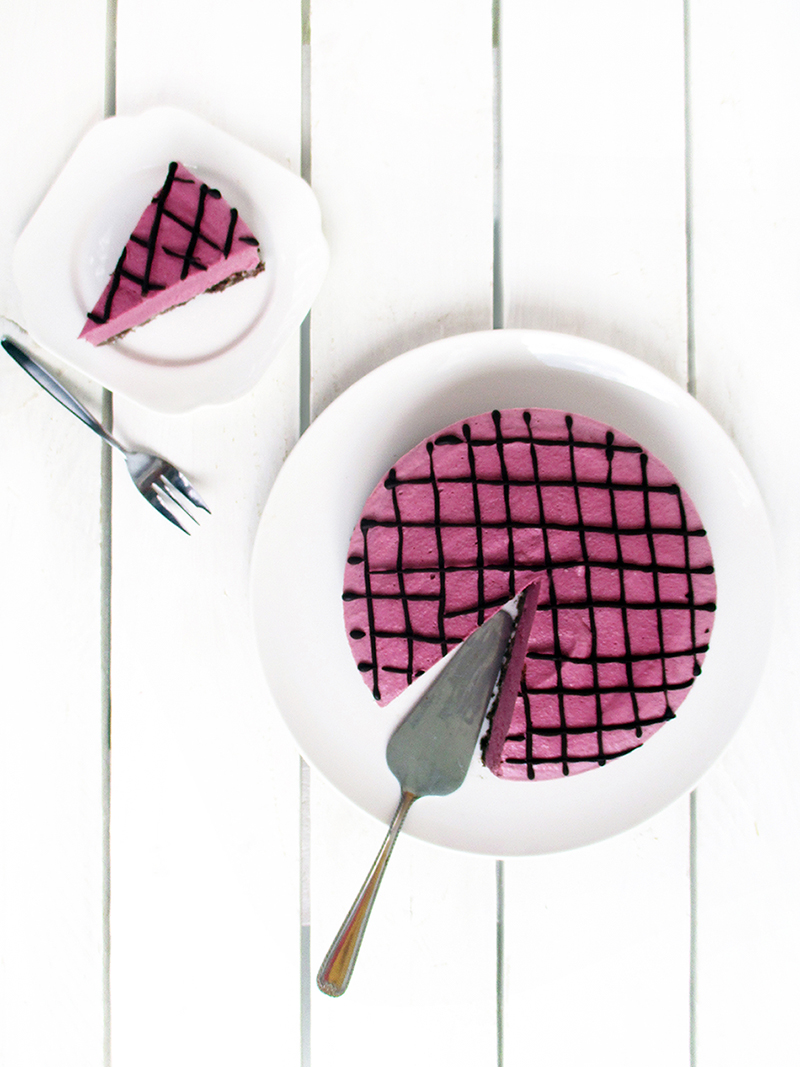
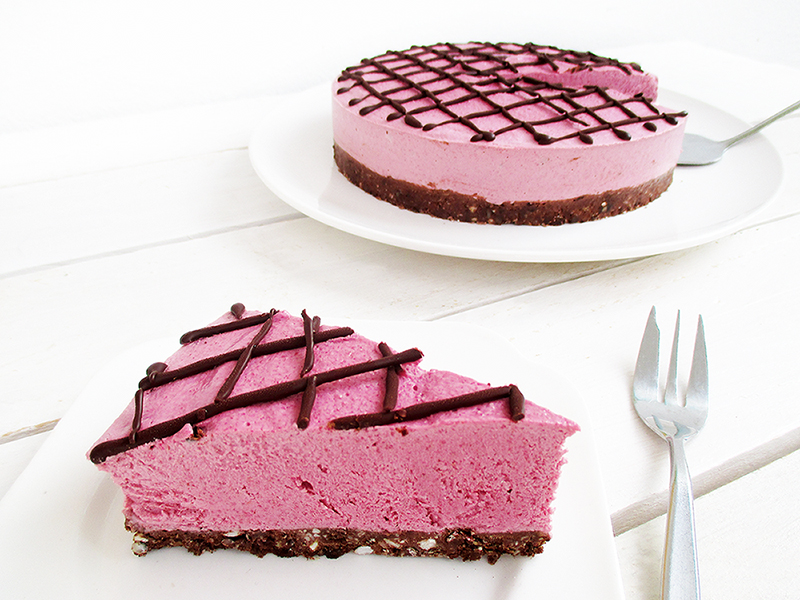
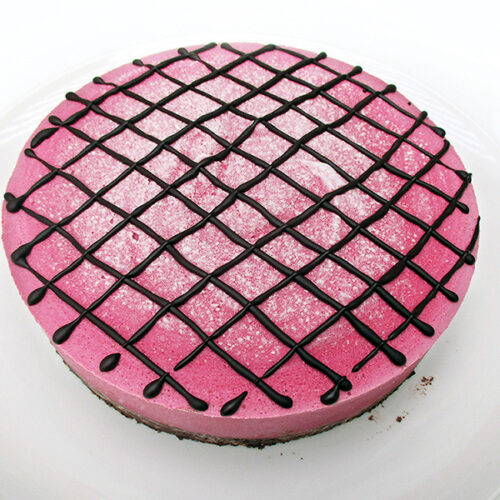
No-Bake Raspberry Chocolate Cake (Vegan, Gluten-Free, Nut-Free, Soy-Free)
Equipment
- 18cm (7inch) cake tin
- high-speed blender
Ingredients
For the crust:
- 100 g buckwheat groats (soaked in filtered water for at least 4 hours, then drained)
- 140 g dates pitted and diced
- 25 g FAIR-TRADE cocoa or cacao powder
For the raspberry filling:
- 2 1/2 cups raspberries
- 75 g sunflower seeds (soaked in filtered water for at least 4 hours, then drained)
- 1 can coconut cream
- 75 g desiccated coconut
- 100 g dates pitted and diced
- 1 pinch salt
- 2 teaspoon fiber husk ground
For the chocolate topping:
- 20 g cacao butter
- 15 g FAIR-TRADE cocoa or cacao powder
- 2 teaspoon maple syrup or other liquid sweetener of your choice
- 1 pinch salt
Instructions
- For the crust, pulse the buckwheat until it is mainly mashed up. Transfer to a medium sized bowl. Pulse the dates to fine crumbles and add to bowl with the cocoa (or cacao). Mix well. It should be moist enough to stick together in a big clump. Add a little bit of extra water if needed.
- Line the cake tin with some baking paper. Pour the mixture for the crust into the tin and spread it evenly with your clean hands. Place in the freezer while preparing the filling.
- For the filling, blend all ingredients but the fiber husk to a fine cream. Add the fiber husk towards the end. This will help the mixture to bind. Take the cake tin out of the freezer and pour the filling into it, spreading it evenly. Place in the freezer until set (approx. 2-3 hours)
- For the chocolate topping, melt the cacao butter by putting it into a small bowl and placing the bowl in a hot water bath. Once the butter has melted, stir in the maple syrup and cocoa (or cacao). Make sure the chocolate is still liquidy when you are ready to decorate the cake.
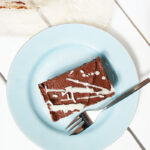
- Take the cake out of the freezer and take it out of the cake tin. Fill the chocolate into an icing bag or icing bottle and decorate the cake to your liking. Best to cut the cake while it is still semi frozen.
Notes
Please let me know what you think about this recipe, I’d love to hear from you! And if you remake this recipe, please share the picture with me on Pinterest, Instagram or Facebook.
