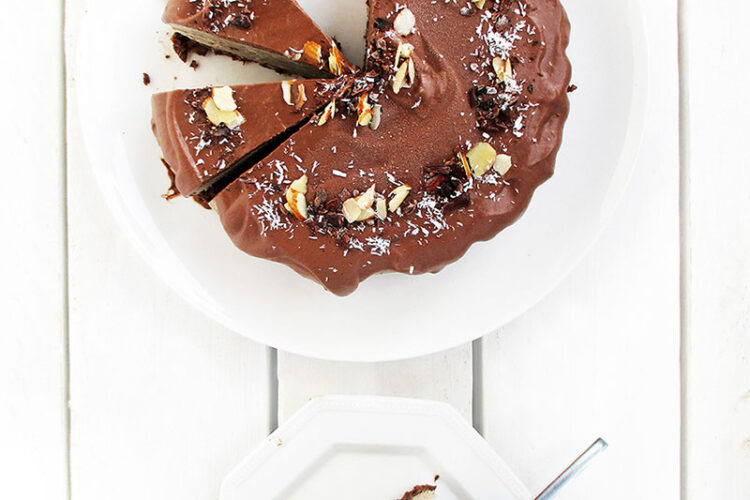
Woohoo! I’m on a roll with my no bake cake series – you can expect to see a few more recipe variations in the next months 🙂
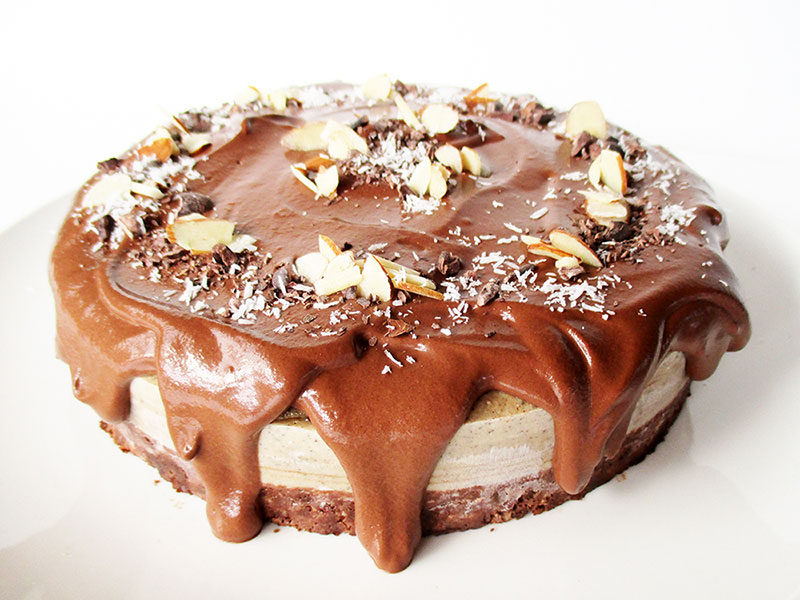
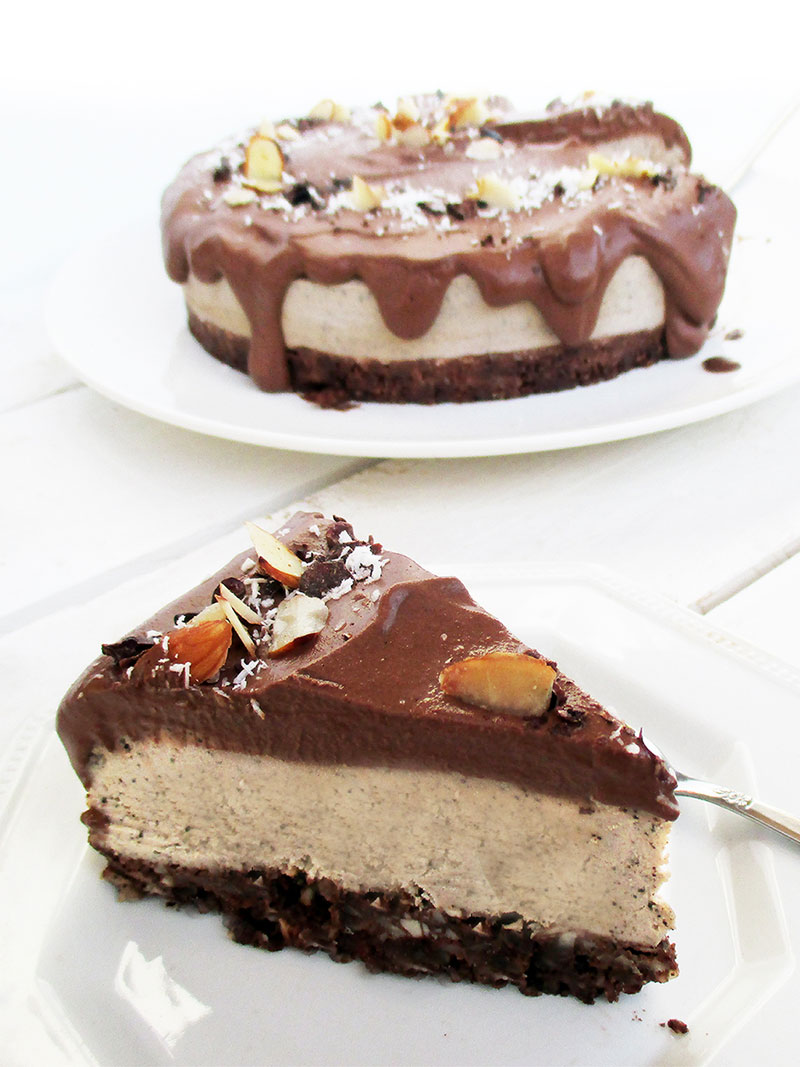
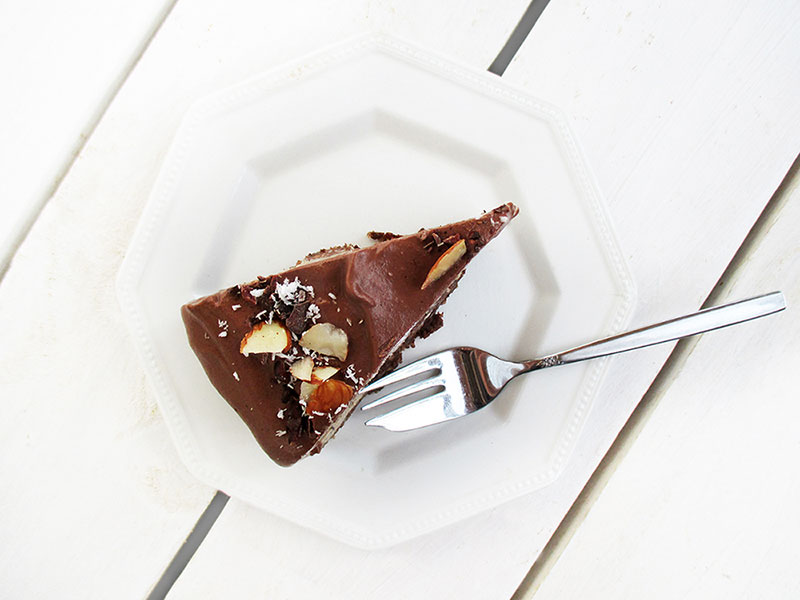
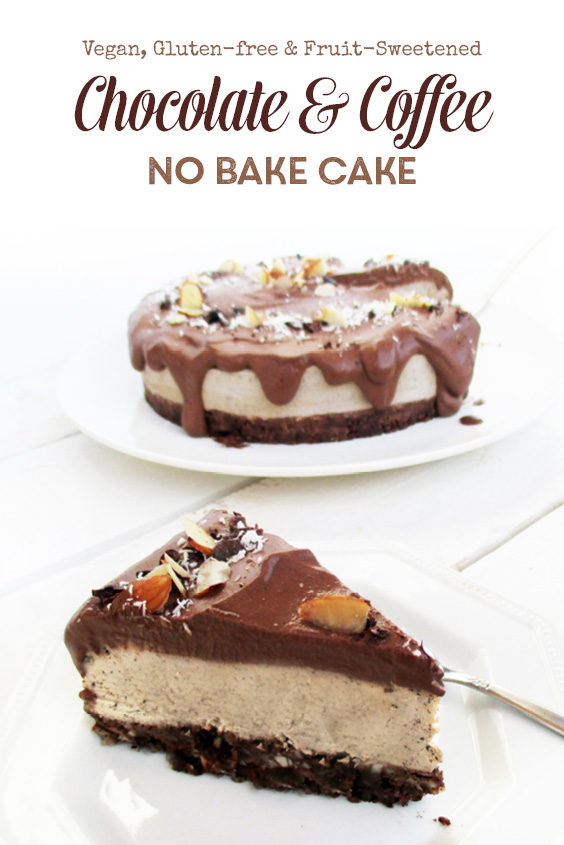
This time I wanted to create something mocca-ish with a bit of chocolate too. I’ve also used some hazelnuts which add nicely to the coffee flavour. Yum! And all that delicious richness is still vegan, gluten-free and only sweetened with dates. Yay! 🙂
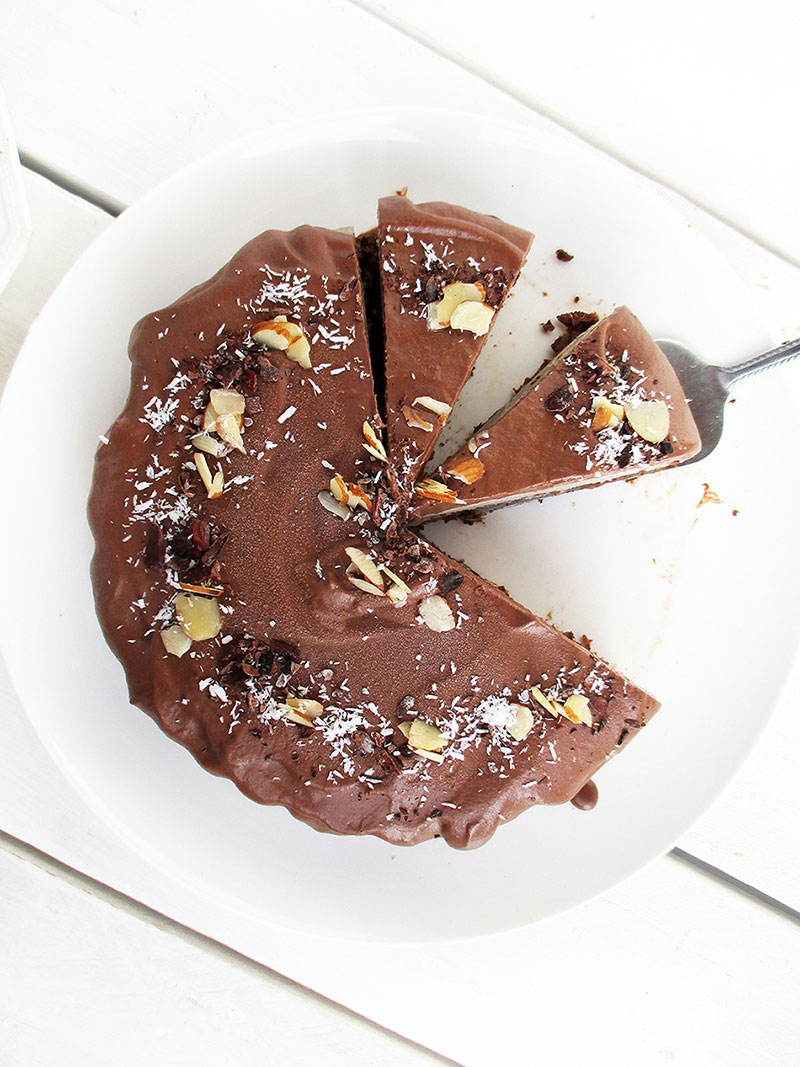
This cake is quite rich, so you can actually share it with someone who deserves it 😉 I also like to freeze the pre-cut slices and defrost them as desired. Best results will be achieved with a high-speed blender. You can find a review of my favourite blender here.
For a 18cm (7inch) cake tin you’ll need:
For the crust:
1 cup (150g) hazelnuts (soaked in filtered water for a least 8 hours, then drained)
1/2 cup (70g) dates, pitted and diced
1/4 cup (25g) FAIR TRADE cacao or cocoa
1 pinch salt
For the filling:
2 cup (280g) cashew nuts (soaked in filtered water for at least 6 hours and drained)
2/3 cup (95g) dates, pitted and diced
2 tablespoon coffee beans
1 cup water
For the chocolate topping:
1/4 cup cashews ✳ Affiliate link: When you click on one of these links and make a purchase through the partner website, I receive a small commission from your purchase. This helps me keep my blog running. Thank you for your support! 😊 (soaked in filtered water for at least 6 hours and drained)
1/2 cup (70g) dates, pitted and diced
1/3 cup (30g) FAIR TRADE cacao or cocoa
2/3 cup water
pinch salt
For garnish I used chopped hazelnuts, desiccated coconut and raw cacao nibs.
Preparation:
1. For the crust, pulse the hazelnuts and dates to fine crumbles and transfer to medium sized bowl.
2. Sift cacao or cocoa and salt into the bowl and mix well. Is the dough too dry, add a little bit water. You want it to be just moist enough so that it is sticky.
3. Line the cake tin with baking paper and pour in the dough. Spread it evenly and press it down. Place in refrigerator or freezer while preparing the filling.
4. For the filling, blend all ingredients in a food processor or blender until they are a fine cream. I prefer to start with the dates and water and then add the other ingredients.
5. Take the cake tin out of the refrigerator/freezer and pour the filling in, spreading it evenly. Put it back in the freezer until it is solid.
6. When the cake is solid, prepare the chocolate sauce by blending all ingredients to a fine cream. Again, I like to start with the dates and water, and then add the other ingredients.
7. Take the frozen cake out of the cake tin and carefully pour the chocolate sauce over it. Then add your garnish of choice. Place in the freezer until the topping has set. I recommend to let it thaw a little before cutting the slices.
Enjoy! 🙂
Please let me know what you think about this recipe, I’d love to hear from you! And if you remake this recipe, please share the picture with me on Pinterest, Instagram or Facebook.

