You can find quite a few chocolate flavoured recipes on my blog now. But have you noticed that there is no chocolate covered treat yet? How can that be? Well, that’s what I asked myself in disbelieve 😉
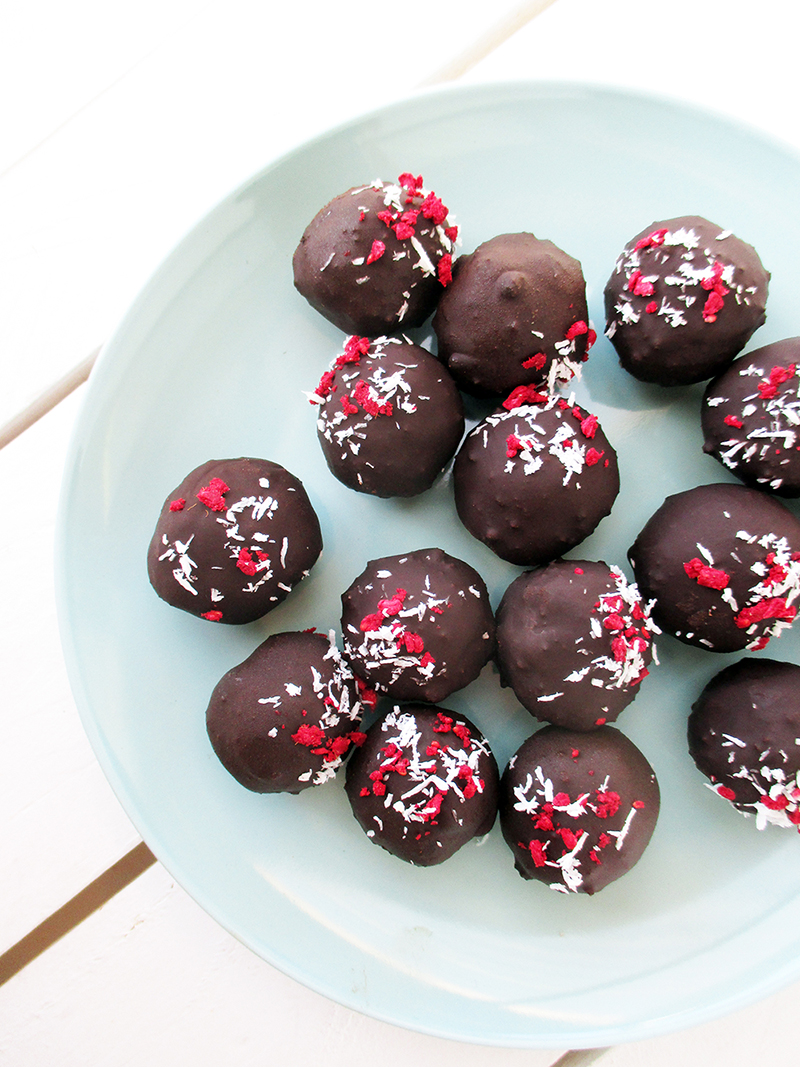
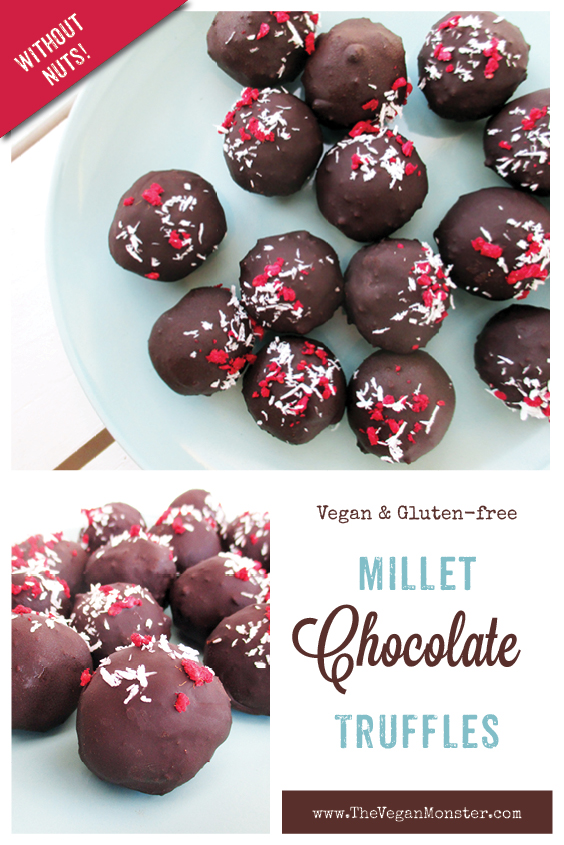
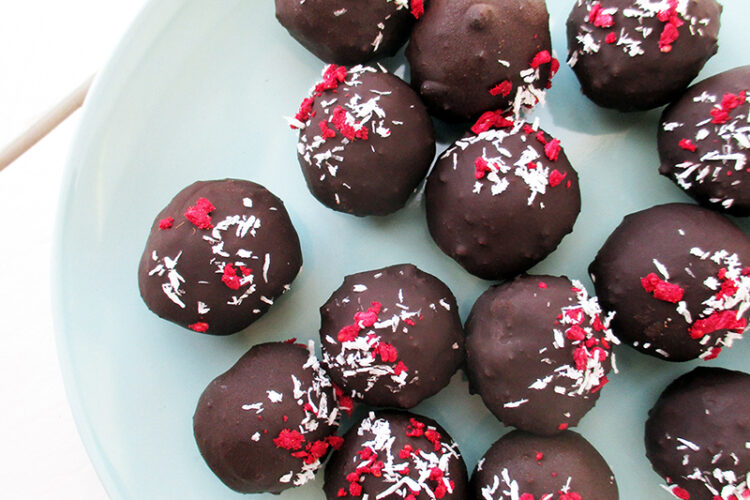
I’ve been playing with the idea of some kind of bliss ball that is nut-free and relatively low-fat for some time. Millet seems to be a fabulous ingredient for this kind of recipe. Add the chocolate layer on top and you enter a whole new level of treat! Yum! 🙂
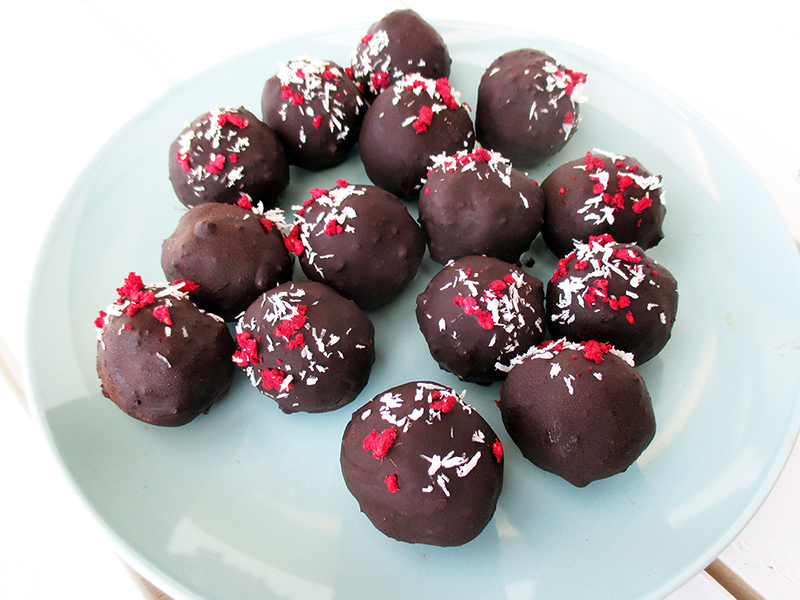
The millet allows for a super fluffy, soft and light interior. The additional chocolate adds flavour and an ultimate surprise when popping one of those delicious truffles into your mouth. These could make a perfect home-made gift for your valentine! 🙂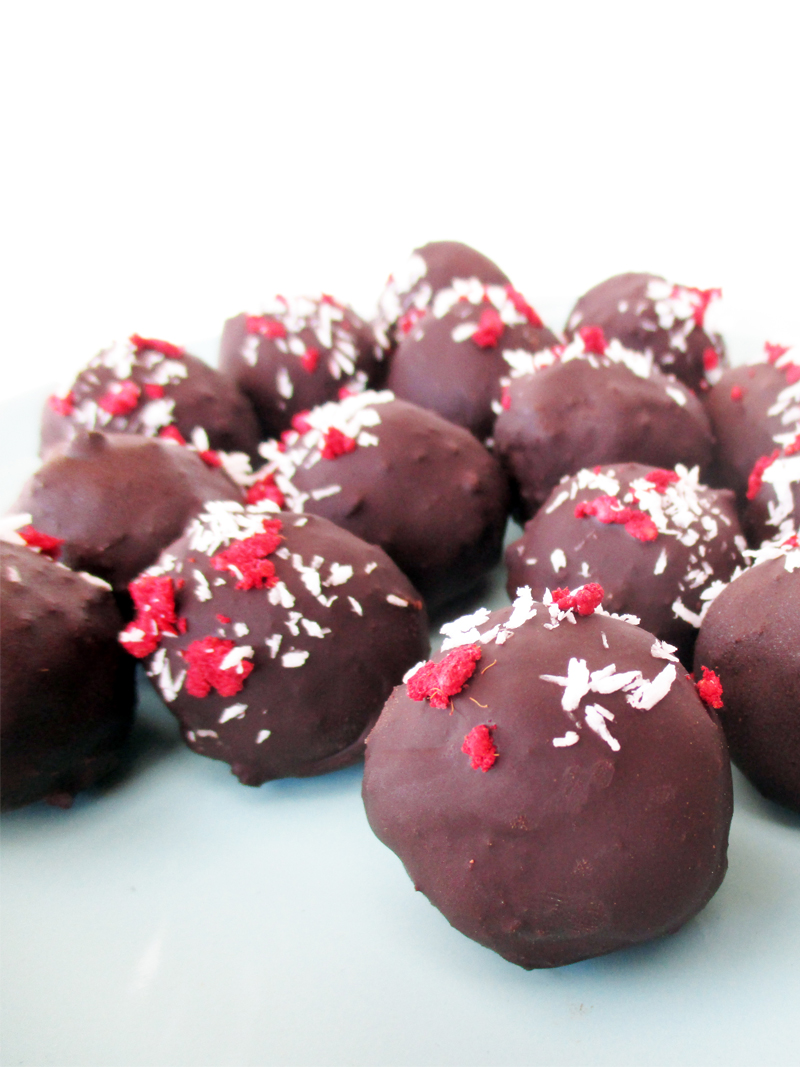
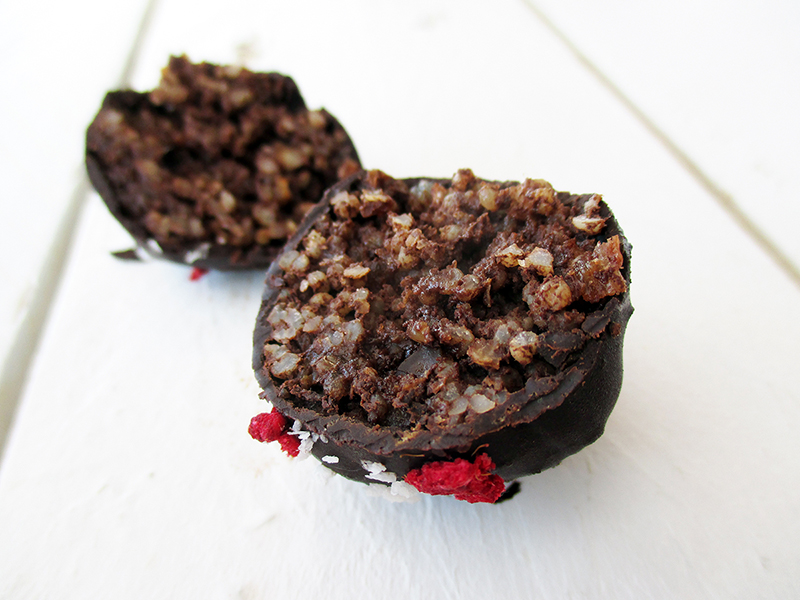
As always this recipe for millet chocolate truffles is vegan, gluten-free, without refined sugar and this time also nut-free and mostly low-fat.
Millet Chocolate Truffles (Vegan, Gluten-free, Nut-free)
Equipment
- high-speed blender
Ingredients
For the truffles:
- 100 g uncooked uncooked
- 250 ml water
- 140 g dates pitted and diced
- 30 g FAIR-TRADE cacao or cocoa powder
- 2 tablespoon water
For the chocolate:
- 50 g cacao butter melted
- 50 g FAIR-TRADE cacao or cocoa powder
- 30 g coconut sugar preferably finely ground (or more if you like it sweeter)
Instructions
- Place millet and water in a small pot, cover with lid and bring to the boil. Let simmer on low heat for 10 to 15 minutes until the moisture is soaked up, with the lid slightly opened. Then let rest covered for 10 minutes. The millet should have become fluffy. Let cool down completely before the next step.
- Pulse the dates in a high-speed blender to fine crumbles. Add to the millet.
- Sift in cacao or cocoa powder and mix well. Add just enough water to form a knead-able dough.
- Form the balls and place in fridge or freezer while preparing the chocolate.
- For the chocolate place all ingredients into a cup that sits in a bowl with hot water. Stir well to dissolve.
- Use a wooden skewer to pick up one ball and then dip it into the chocolate. Allow to cool a little before picking up the next ball (I use a whole bunch of wooden skewers and place them into a glass to let cool down the chocolate). Garnish to your liking while the chocolate is still soft. Best kept chilled.
Notes
Please let me know what you think about this recipe, I’d love to hear from you! And if you remake this recipe, please share the picture with me on Pinterest, Instagram or Facebook.
