Mothers Day is close and most of us know how nice it is to give mom a heartfelt gesture of love, appreciation and thankfulness.
Whenever I can, I personally would always opt for a hand-made gift, be it a hand picked bunch of daisies or some home-made art, craft or good old baking.
I bought these heart shaped cookie cutters some time ago and hardly ever used them. But it seems like the idea of creating a heart shaped cookie for Mothers Day needed some time to pop up in my mind 😉
Well, when I think about it, this cookie would also do really well for Valentines Day. I leave it up to you 🙂
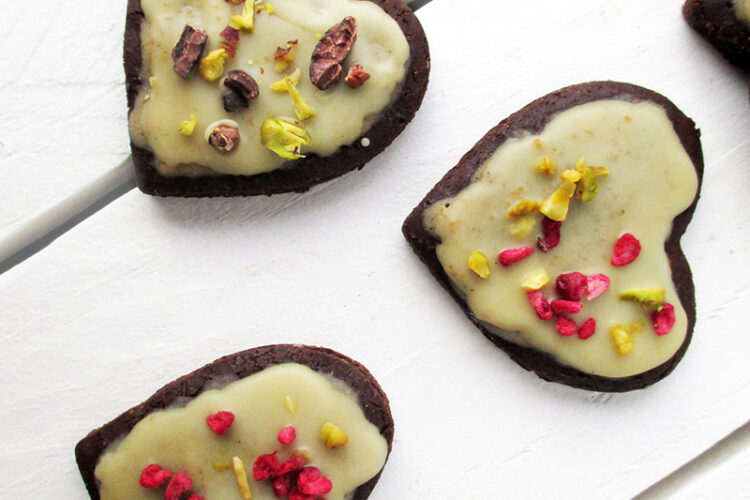
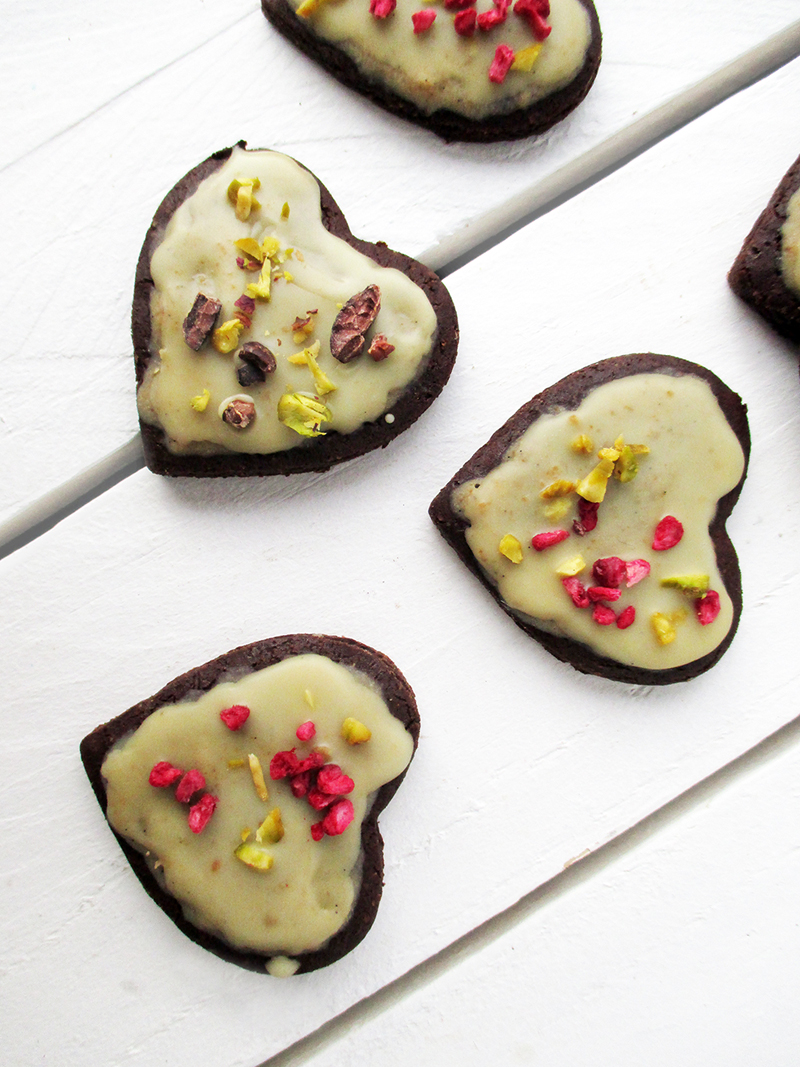
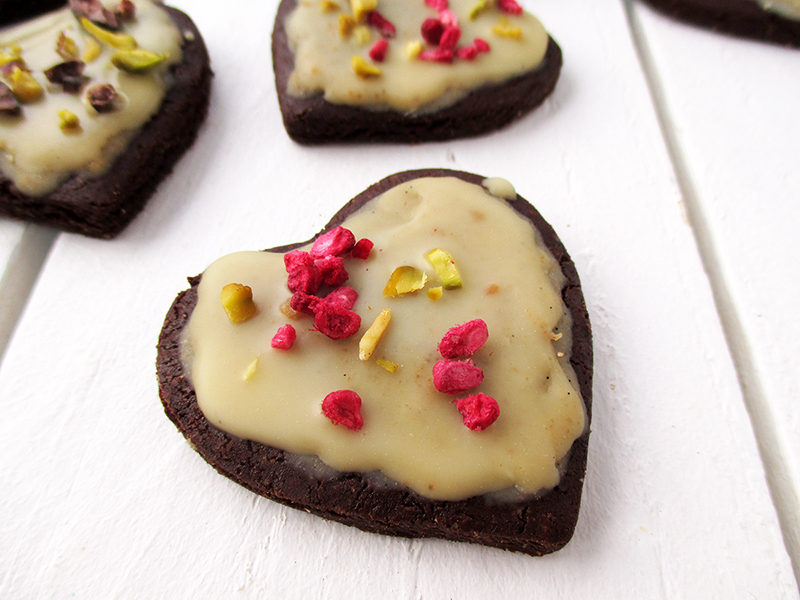
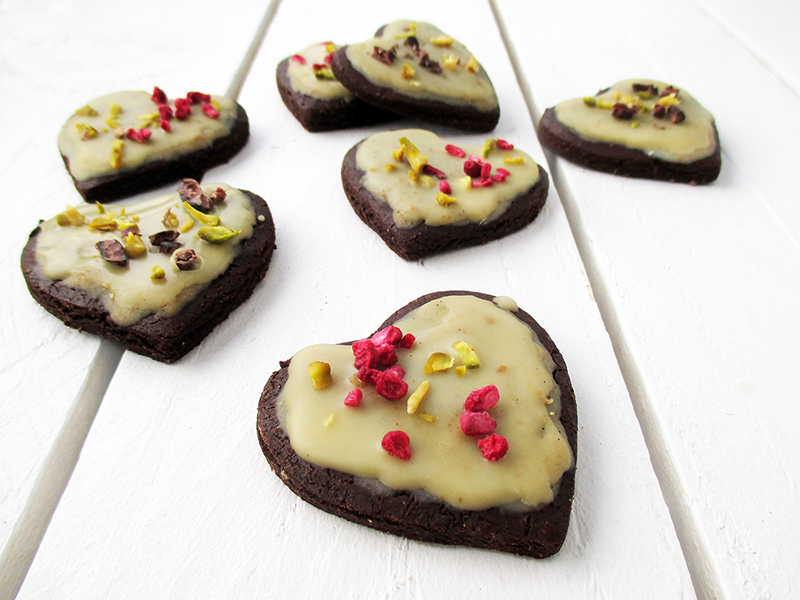
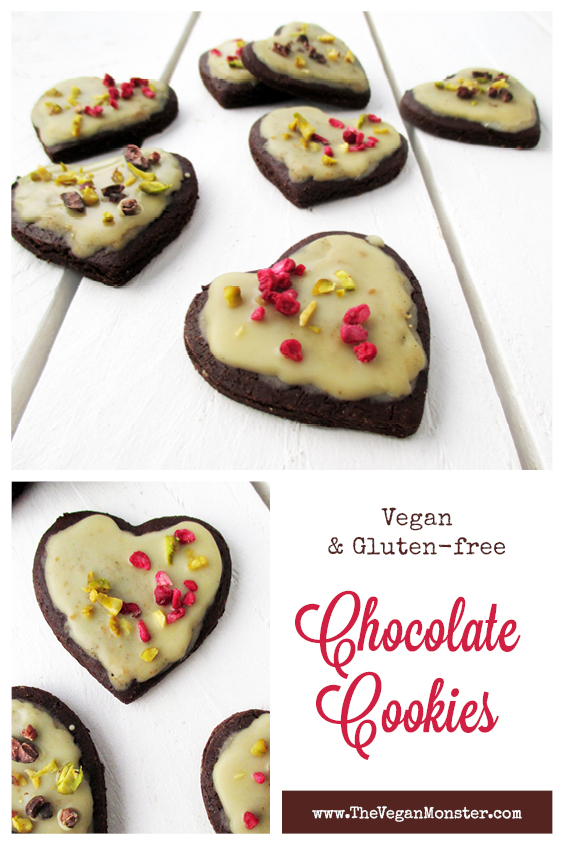
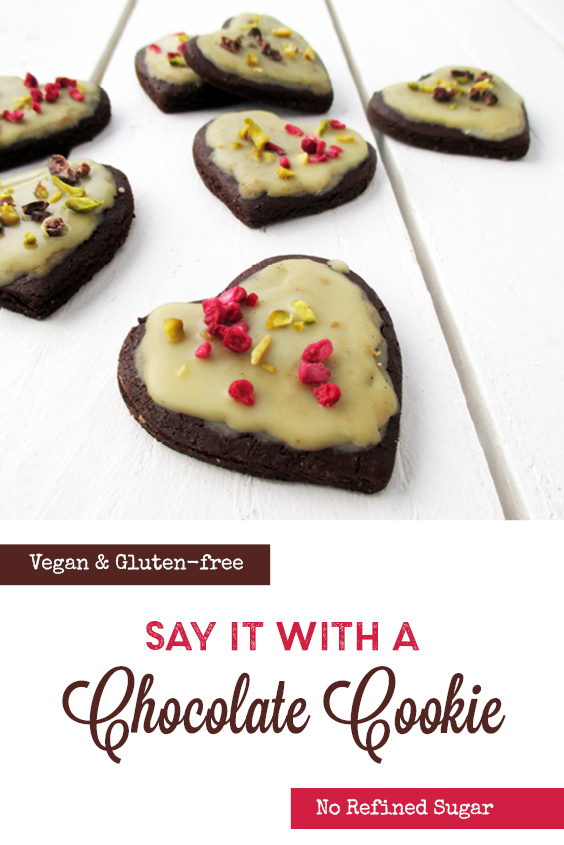
Either way, this kind of vegan, gluten-free and nut-free chocolate cookie with white chocolate glazing is the ideal gift for anyone that deserves a gesture of love 🙂
For approx. 20 cookies you’ll need:
For the cookies:
1/2 cup (70g) rice flour
1/2 cup (50g) FAIR-TRADE cocoa powder
1/2 cup (90g) coconut sugar
1/4 cup (35g) buckwheat flour
1 teaspoon psyllium fiber husk
1 teaspoon baking powder
30g (approx. 1 heaped tablespoon) tahini
1/4 cup water, plus 1-2 additional tablespoons if needed
For the white chocolate glazing:
30g cacao butter, melted
3/4 teaspoon finely ground coconut sugar
3 teaspoon tapioca starch
1/4 teaspoon vanilla paste (optional)
For garnish I used dehydrated raspberries, cacao nibs and chopped pistachios (which doesn’t make it nut-free).
Preparation:
1. Preheat the oven to 175°C. Mix all dry ingredients for the cookies in a medium sized bowl.
2. In a separate bowl, whisk the tahini and water until well dissolved.
3. Pour the mixture into the bowl with the dry ingredients and mix well. The dough should be just moist enough so that you can knead it in your hands and form it to a ball. If needed, add 1 to 2 additional tablespoon of water.
4. Roll out the dough between two sheets of baking paper until it is approx. 5mm thick. Then cut out the cookies and place them onto a baking tray. Knead the remaining dough and roll out again, repeat steps until dough is used up.
5. Place in oven and bake for approx. 15 to 20 minutes. Let cool down before you add the glazing. If you place the cookies in the fridge or freezer, the glazing will set quicker and thicker.
6. For the white chocolate glazing, mix all ingredients in a warmed up cup until well dissolved. I simply used a teaspoon to place little portions of the chocolate onto each cookie and to spread it around. If you haven’t cooled down the cookie too much, the glazing might be quite thin and needs another layer added later. Then quickly add garnish before it sets.
Enjoy! 🙂
Please let me know what you think about this recipe, I’d love to hear from you! And if you remake this recipe, please share the picture with me on Pinterest, Instagram or Facebook.

